As an Amazon Associate, we earn from qualifying purchases. Some links on this site are affiliate links at no extra cost to you. Our recommendations are based on thorough research and editorial judgment.

How to Prevent Suction Cups From Losing Grip
Suction cups lose grip when air, dirt, or stiff plastic breaks the seal. Clean smooth glass or tile with hot soapy water, rinse, then wipe with 70% alcohol and dry fully. Press a 2–4″ soft PVC cup firmly for 5–10 seconds; test with 2–10 lb weights. Boil cups 30 seconds to restore flexibility. Replace cloudy, cracked, or curled cups ($1–$15 each). Want tips on fixes, alternatives, and durability tricks next?
Key Takeaways
- Clean both the suction cup and surface with hot soapy water, rinse, dry, then wipe with 70% alcohol to remove oils and residue.
- Apply suction only to smooth, non-porous, undamaged surfaces like glass or glossy tile for a reliable airtight seal.
- Press the cup firmly in the center for 5–10 seconds to expel air and test with a small weight before full use.
- Boil or soak cups briefly to restore flexibility if stiff, and replace cups showing cracks, curling, or cloudiness.
- Avoid humid, steamy, or very cold environments and retest mounts weekly for loads greater than 2–5 pounds.
Why Suction Cups Fail to Stick

You may be interested


Because even tiny flaws matter, suction cups often fail simply from surface irregularities. Suction cups tend to lose grip when dust, moisture, or scratches interrupt the vacuum seal. Readers learn that a 2.5-inch rubber cup can’t seal over a paint chip or grainy tile. Humidity and temperature matter too; performance drops around 50°F or in very humid bathrooms. Air bubbles during application are common — press slowly to expel them. Over time the plastic softens; a $5 boil-and-reset trick from testers often restores flexibility. Ever tried hanging a mirror and watched it slide? That sinking feeling is avoidable. The advice is practical: dry surfaces, smooth contact, firm even pressure. Simple steps yield reliable holds without fancy gadgets. For long-term protection consider using high-quality materials like reflective fabrics and reinforced rings in nearby shade or accessory installations.
Best Surfaces for Reliable Adhesion

A few surfaces make the job easy: smooth, non-porous materials like glass, glossy ceramic tile, and acrylic are the best bet for suction cups. Readers learn that these surfaces let air evacuate fully, forming a reliable vacuum. Suction cups without texture stick best; think shower glass or a bathroom tile priced $0.75–$2 per sq ft. Humidity ruins the bond, so install in dry rooms above 40°F. Textured walls or wood leak air and fail. Larger diameter cups (2–4 inches) cover minor irregularities and improve hold. A tester joked, “Like a kiss that won’t let go.” Want numbers? Use 91% rubbing alcohol to prep surfaces for consistent results. For particularly demanding applications, choose durable materials like 600D Oxford to ensure long-term resistance to weather and wear.
How to Thoroughly Clean the Mounting Surface

When choosing the spot for a suction cup, think like a scientist and a neat freak. The surface gets cleaned with hot water and a teaspoon of dish soap in a bowl — about 1 cup (240 ml) of water works well. For glass, a $3 window cleaner yields a streak-free finish that improves grip. Pat dry with a lint-free cloth. Next, rub the area with rubbing alcohol (70%, $4 for 12 oz) to remove tiny dust and oils that interfere without leaving residue. Ascertain complete dryness; moisture ruins the vacuum. Periodic maintenance keeps suction cups reliable. Who wants a falling soap dish? Testers say a quick wipe every few weeks saves headaches. Small effort, big payoff. Many users find that placing suction cups on clean, custom-fit areas — similar to how custom-fit accessories optimize fit — improves long-term holding power.
Recommended Products

Perfect Balance between Effectiveness and Safety: Lower 70% concentration offers enhanced penetration for thorough cleaning, yet remains less aggressive than higher concentrations—ideal for ensuring prolonged contact without compromising sensitive materials or surfaces.

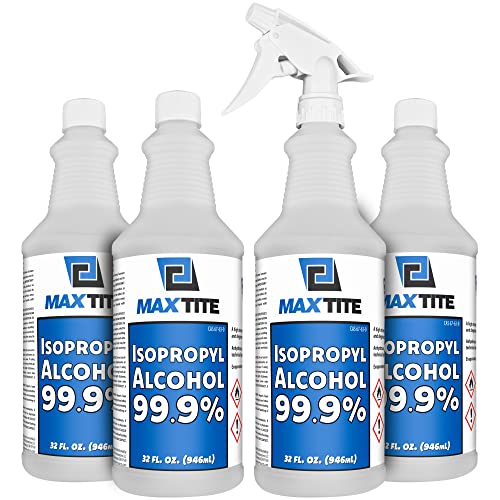
99.9% Isopropyl Alcohol. For External Use Only
Proper Way to Wash and Dry Suction Cups
Start by scrubbing the suction cup with warm water and a teaspoon of dish soap to lift grease and grime. The proper way to wash and dry suction cups is simple and predictable. Use a soft brush for edges; $3–$10 brushes work fine. Rinse thoroughly, then pat with a lint-free cloth to remove excess water. Air dry fully—moisture ruins the seal. For stubborn oils, wipe both cup and surface with rubbing alcohol (70% is common) before reattaching. How long to wait? Ten minutes of air drying is usually enough. One tester joked, “Feels like towel time for rubber.” The tone stays practical: clean, dry, and oil-free. Follow these steps and grips will improve without gimmicks. Higher-quality materials tend to endure more wear and provide better performance over time, especially when used with thermal insulation considerations.
Recommended Products

Sticks to sinks, tiles etc., thanks to the suction cup.
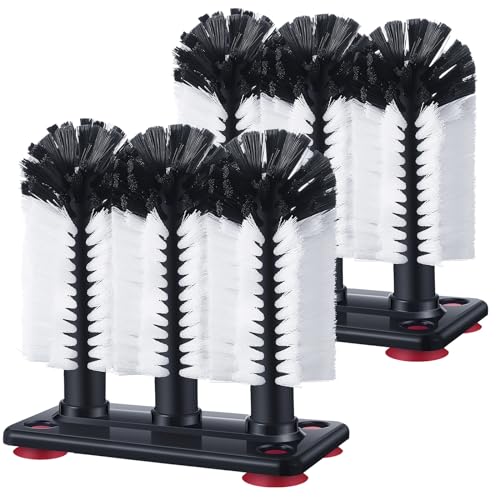
Generously Supplied: you'll receive 2 x cup washer brushes with 3 detachable suction cup brushes, doubling the lifetime of your cleaner before needing a replacement; While its convenient size of 7.28 x 3.74 x 7.48 inches ensures it should fit most cups

HEAVY-DUTY DISH BRUSH & SCRUBBER - High-quality PET fiber bristles stay firm and resist deforming, so this dish scrubber powers through baked-on, stuck-on messes day after day for long-lasting daily use.
Restoring Flexibility With Hot Water
If a suction cup has gone stiff and cloudy, a short dip in near‑boiling water can bring it back to life. Immersing the cup in hot water at about 60–70°C for up to 30 seconds softens the plastic, allowing it to flex and grip again. Dry completely with a lint‑free cloth before reuse; any moisture can ruin the seal. Try it warm off the stove — while still slightly hot it often forms a better vacuum. Regular dips like this can extend life and avoid replacement costs, typically $2–5 per extra month of use. “Feels like new,” one tester joked, holding a resurrected hook. Who knew simple heat and a towel could save a favorite gadget? Using heat to restore flexibility is similar to how reflective materials in windshield covers help manage temperature, improving interior protection for vehicles.
Applying Suction Cups for a Perfect Seal
Although a clean surface is half the battle, proper technique finishes the job. The installer begins by cleansing the suction surface with hot water and dish soap, then wiping with rubbing alcohol. Press firmly on the center of the cup to expel air bubbles. A thin touch works; too much force can distort older cups. Use smooth, non-porous materials like glass or glossy tile for best results—textured walls are trouble. Apply cups when temperatures are above 40°F and wait 24 hours before loading them. One tester joked, “Like dating: don’t rush the commitment.” Typical small cup kits cost $5–$12, which is cheap insurance. Want reliability? Follow these steps and check seals weekly for peace of mind. For extra protection in hot climates consider using a custom-fit shade to reduce interior temperatures and UV exposure.
Using Petroleum Jelly or Silicone Grease Correctly
Cleansing the surface was only half the work; now attention turns to what goes on the cup itself. A thin smear of petroleum jelly or silicone grease — about a rice-grain amount per 1-inch rim — can improve adhesion by sealing microgaps. Don’t glob it on. Too much lubricant breaks suction and invites slippage. Focus application on the sealing edge where cup meets glass or tile. Test amounts: start with a whisper-thin layer, then add increments until pull tests hold 5–10 pounds reliably. Reapply periodically, especially after a rainy week or heavy use. A tester laughed, “Like sunscreen for cups.” Typical jar prices range $3–$10. Simple, cheap maintenance can keep that hook working when it really counts. Reflective materials like those used in quality sun shades can similarly reduce heat-related degradation of adhesives, so consider protecting your vehicle interior with a UV protection sun shade.
Environmental Factors That Affect Hold
Because moisture, temperature, and surface quality all matter, suction cups can be temperamental roommates. Readers learn that humidity undermines the airtight seal; dry glass at 50% RH is ideal, not a steamy shower wall. Cold below 40°F stiffens rubber and cuts holding force. Warm conditions above 40°F keep flexibility and grip. Smooth, non-porous surfaces like glass or glazed tile let cups stick; textured paint and wood do not. Soap scum, dust, and oils act like tiny thieves stealing suction—clean with isopropyl alcohol ($4–$8 bottle) before mounting. Prolonged water exposure hardens material over months. Want reliable performance? Test with a 2 lb weight for 24 hours. “It held my spice rack,” a tester joked. Practical maintenance beats surprise falls. Sunshades and visors made from premium 240T material demonstrate how material choice affects long-term durability and performance.
When to Replace Worn or Damaged Cups
When edges curl, crack, or show nicks, it’s time to swap the cup out—those flaws let air sneak in and cut holding power quickly. Inspect every few months, especially in bathrooms and kitchens where humidity is high. If a cup won’t hold after cleaning and reseating three times, replace it. Look for hardening or cloudiness; that indicates material breakdown from continual water exposure. Higher-quality cups cost $5–$15 each and often last longer than $1–$3 cheap ones. Imagine a suction cup like a tired heel on a shoe: once it’s worn, it won’t grip sidewalks. Test one with a 5–10 lb load before trusting it. “Feels floppy,” a tester said. Don’t wait for a crash—swap damaged cups promptly. Custom-fit accessories, like precision-fit sunshades, often outperform generic options and illustrate the value of choosing properly sized, high-quality fittings.
Recommended Products

Warm Tip ; Clean the surface with rubbing alcohol before use. Soak in warm water for a few minutes, then moisten for better results.
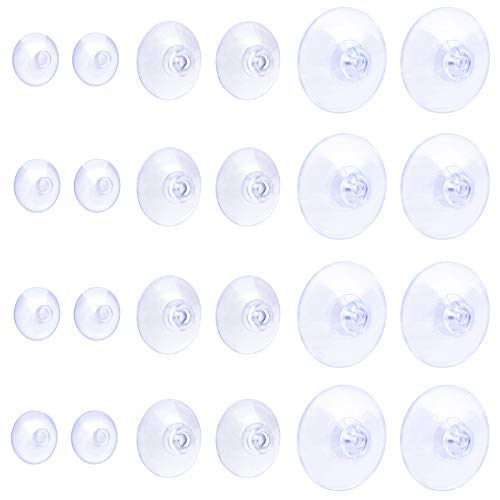
Multipurpose: Ideal small suction cups for galss! Great to be used as holders for bird feeders, potted plants, toiletries or kitchen utensils and wreath hangers for decoration during holidays.

STANDARD SIZE Replacement Suction Cups. 2" diameter and the diameter of the port is 1/2". Fits most window bird feeders, bath and shower accessories.
Alternative Mounting Solutions for Tiles and Glass
Several practical options exist for mounting on tile and glass that don’t rely on suction cups. Command Strips hold well in bathrooms; a 3M four-pack often costs $7–$12 and supports 5–7 pounds per set. Magnetic hooks work if metal is nearby or if a wall-mounted strip is added; they’re simple and adjustable. Adhesive wall hooks come in varied sizes and styles, usually rated 2–10 pounds, and cost about $5–15 each. For permanent needs, silicone caulk creates a sealed bond; a $6 tube applied around fixtures cures in 24 hours. Adhesive-backed trays stabilize bottles without the drama of slips. Suction cups tend to stick sometimes, but these options offer steadier, predictable holds. Who likes surprises in the shower? Not many testers. Using custom-fit designs ensures the best long-term performance when replacing suction-mounted accessories.
Recommended Products

High quality: The shower caddy adhesive body is made of PC material, The whole body is crystal clear and not easy to break, and the upgraded adhesive is used, which has stronger adhesion, no marks, and is not easy to fall.

[Package Include]: You will receive one package, include 14pcs Clear Shower Caddy Adhesive Hooks, Triple Hook*4pcs(2.76*10.24inch), Double Hooks*4pcs(2.36*5.51inch), Single Hooks*6pcs(2.36*2.36inch)

【Stainless】Made from high-quality stainless steel, ensuring durability and stability. Securely fixed and perfect for long-lasting use.
Tips for Long-Term Maintenance and Care
To keep suction cups working like trusty little anchors, treat them as routine maintenance items rather than set-and-forget gadgets. Clean both surface and cup with warm, soapy water weekly; testers note a $5 bottle of dish soap lasts months. Occasionally use hot water — boil cups about 30 seconds to restore elasticity, then air-dry completely. Inspect for cloudiness, fraying, or hard spots; replace any cup showing wear. A dab of petroleum jelly (about the size of a pencil eraser) around the rim improves the airtight seal, but don’t overdo it. Mount only on smooth, dry surfaces in a warm room for best results. Who wants things falling? Good care keeps grips strong and saves frustration.
Common Mistakes That Reduce Suction Strength
Frequently, small oversights are the real saboteurs of suction strength. Many users assume suction cups tend to stick regardless, but dirt, oil, or soap scum under a 2.5–3-inch cup will cut hold time dramatically. Press the center firmly for 5–10 seconds to expel air. Don’t mount on textured tile or wood; smooth glass or glazed ceramic works best. Humid bathrooms are tricky — moisture can trap air pockets and halve adhesion. Inspect cups monthly; curled edges or stiffness indicate $2–5 replacement needed. A tester joked, “It’s not magic — it’s hygiene.” Would you trust a leaky seal? Clean with mild soap, dry with a lint-free cloth, and avoid cheap, thin vinyl cups that lose flexibility quickly.
Frequently Asked Questions
How to Make Suction Cups Hold Better?
Like clockwork, one must clean surfaces, warm and soften Suction Cup Materials, apply a thin film of petroleum jelly, press firmly to expel air, and wait 24 hours before loading so the seal achieves full strength and reliability.
How to Stop Suction Cups From Falling?
They recommend Suction Cup Maintenance: clean surface and cup with rubbing alcohol, use smooth nonporous areas, warm cups briefly, apply thin petroleum jelly to the rim, press firmly, inspect and replace damaged cups regularly.
Do Suction Cups Lose Their Grip?
Yes, suction cups lose their grip over time. Suction Cup Durability decreases due to material degradation, surface contamination, and environmental changes; regular cleaning, proper application, and periodic renewal prolong effectiveness but do not prevent eventual failure.
Does Rubbing Alcohol Help Suction Cups Stick?
Yes. Rubbing alcohol aids adhesion by cleaning oils and residue, improving Suction Cup Maintenance outcomes. It readies both surfaces for a tighter seal but doesn’t alter suction mechanics; proper application and surface condition remain essential.


